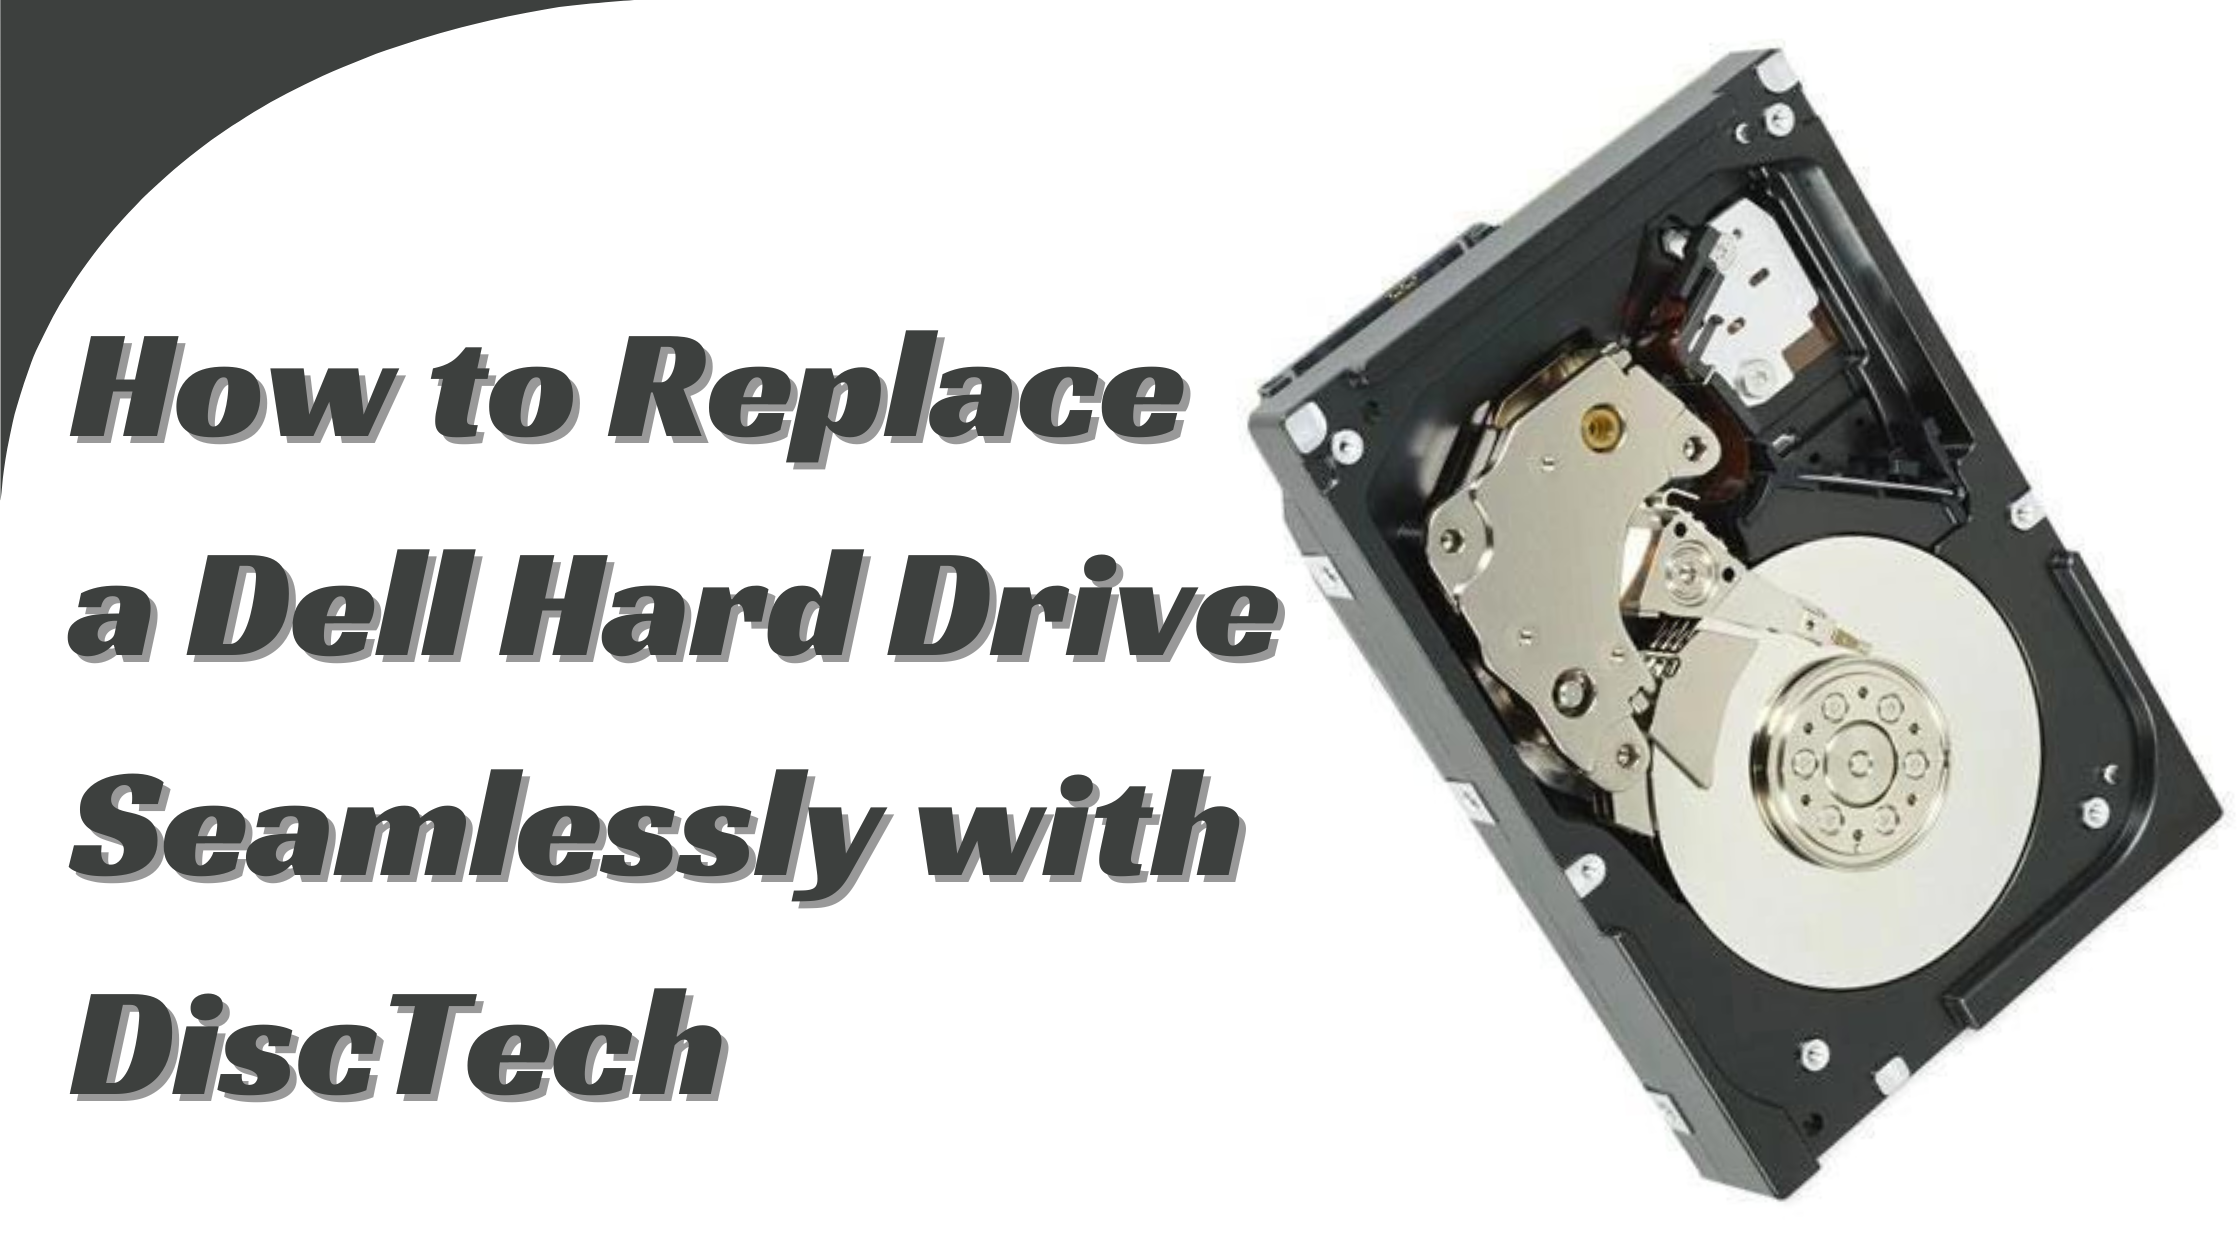
How to Replace a Dell Hard Drive Seamlessly with DiscTech
- 1 Signs of Failure for a Dell Hard Drive
- 2 Steps to Replacing a Dell Laptop Hard Drive
- 2.1 Backup your data
- 2.2 Tools you need
- 2.3 Perform replacement instructions.
- 2.4 SSD vs. HDD
- 2.5 Storage Capacity
- 3 Tips for Successful Dell Hard Drive Replacement
- 4 Common Mistakes to Avoid During a Dell Hard Drive Replacement
- 5 Benefits of Using DiscTech for Your Dell Hard Drive Replacement
- 6 Enjoy your system that has been upgraded.
- 7 Conclusion
When it comes to IT, what they say is true: a failing hard drive is the last thing you want. Whether you’re an IT professional or someone who knows their way around laptops, you must know how to deal with these situations. In this article, we will teach you everything about replacing your Dell laptop hard drive so that you can be prepared and ensure that your system keeps running smoothly.
We will cover everything from identifying signs of failure to selecting the most appropriate replacement, steps involved in the actual replacement process, and tips on avoiding common mistakes made during this process. We shall also introduce you to the range of Dell replacement drives by DiscTech and their benefits.
Signs of Failure for a Dell Hard Drive
Identifying early when a hard disk fails can save one from losing data and experiencing system downtime. Here are some things that could signal that your Dell Hard Drive may be doomed:
Unusual Noises
If your Dell laptop begins generating clicking or grinding sounds, it might mean its deathbed has arrived already. These noises usually occur due to mechanical problems within the drive; hence, they should not be taken lightly.
Frequent Freezing and Crashes
This is another strong indication that something could be wrong with either part or whole of the storage device attached to any laptop system – not only Dells but also other brands. When such happens, even after ensuring enough RAM space plus clean OS installation, it’s time to consider replacing their hard disk drive (HDD).
S.M.A.R.T Errors
S.M.A.R.T stands for Self-Monitoring Analysis Reporting Technology, which every modern-day Dell PC comes equipped with, among other things, being responsible for notifying users of potential failures on their respective drives once detected, thereby allowing them to back up data immediately while preparing themselves mentally and financially, towards purchasing new storage media. So, if you receive this error message at any point, don’t waste even a minute, but act fast by backing everything up as soon as possible.
Steps to Replacing a Dell Laptop Hard Drive
If followed correctly, replacing the Dell Hard Drive is straightforward, just like taking candy from a baby, provided one follows these steps religiously:
Backup your data
Before you begin the replacement, ensure all your important files have been backed up onto an external drive or cloud storage. This should be done before anything else so that no relevant information gets lost forever in changing drives.
Tools you need
To change Dell hard disks, use the following items:
- Small Phillips screwdriver
- Anti-static wrist strap (to protect against static damage)
- Replacement hard disk drive
Perform replacement instructions.
- Turn Off and Unplug Your Laptop: Ensure it’s entirely powered off, then unplug from any power source.
- Remove Battery: Take out the battery for safety purposes, especially when working on delicate components found inside laptops or electronic gadgets, which can easily get damaged by electric current flow if not appropriately handled during repairs or maintenance tasks.
- Accessing HDD Compartment: Most models have compartments at the bottom side near the rear end portion, where air vents are usually positioned; therefore, the cover is unscrewed to gain full access into the HDD bay area.
- Take Out Old Disk: Carefully disconnect and then pull out the old hard disk from its slot since it may be firmly held in place with screws or other retaining clips depending upon the design used by the manufacturer when making the particular model being serviced at hand right now.
- Insert New Drive: Firmly push the new replacement into space until a snug fit is achieved between connectors contacts both sides where they meet each other securely, ensuring good electrical contact is established between host system board controller interface SATA power connector pins plus data transfer cable plug terminals located within the vicinity of this newly installed unit.
- Reassemble the laptop: screw the compartment cover back on, reinsert the battery, and plug in the laptop. Then, power on the laptop once everything is done.
SSD vs. HDD
Decide between a Solid State Drive (SSD) and a Hard Disk Drive (HDD). SSDs are faster and more reliable but can be expensive. HDDs offer storage for less money but are slower and more prone to mechanical failures.
Storage Capacity
Select the amount of storage space you need to complete your work. If you handle big files or apps, go for higher-capacity drives.
Tips for Successful Dell Hard Drive Replacement
Here are some tips that will make the replacement process easier:
Handle with care.
Hard drives can be easily damaged when mishandled, so treat them gently. Ground yourself with an anti-static wrist strap to prevent static electricity from damaging the drive.
Follow the manufacturer’s guidelines.
Always replace the hard drive according to the manufacturer’s instructions. Refer to your Dell laptop manual for specific directions on how-to.
Test the new drive.
When you’re through installing it, power up your laptop with the new drive inside it, then check if the system recognizes it and works properly, too. Install the operating system and restore backed-up data.
Common Mistakes to Avoid During a Dell Hard Drive Replacement
Skipping Data Backup
Never skip the data backup step, as this can lead to losing all information stored in laptop memory, including essential files or documents.
Using the Wrong Tools
Using the wrong tools could damage either the laptop parts themselves or even the whole device altogether, thus rendering it useless continually; therefore, ensure that before beginning any procedure, always have proper screwdriver sizes along with anti-static equipment handy just in case needed during repairs, etcetera.
Ignoring static precautions
You should not ignore static precautions since failing so could expose brand new hard disk drives to electric charges, thereby damaging them beyond repairability; instead, utilize anti-static wrist straps whenever necessary, together with working areas covered by non-conductive materials such as wood, etcetera, while handling delicate electronics like laptop, which are sensitive towards ESD events occurring nearby their components, etcetera.
Benefits of Using DiscTech for Your Dell Hard Drive Replacement
DiscTech offers several advantages over other service providers when it comes to Dell hard drive replacement:
Wide Selection of Drives
Customers can choose from a wide array of Dell replacement hard drives provided by DiscTech, including SSDs and HDDs; therefore, one can always find something that suits their needs in terms of specifications plus cost.
Quality Assurance
All DiscTech drives undergo thorough checking to ensure they meet quality standards within the industry, thus making them more reliable than those not subjected to such processes before being sold into the market. DiscTech’s Range of Dell Replacement Hard Drives
For exact instructions on installation, please refer to the previous section about replacing a hard drive on a Dell laptop. If you have any problems, the support team at DiscTech is here to assist you.
Enjoy your system that has been upgraded.
Once installed, this new hard drive will increase the performance and dependability of your laptop by providing faster speeds, more storage space, and a smoother computing experience overall.
Conclusion
Replacing a Dell Laptop’s Hard Drive with proper guidance and tools is achievable. Follow all the steps in this tutorial for a successful replacement process and enjoy a new, efficient hard disk drive (HDD).
Many different high-quality replacements are available from DiscTech for various needs with Dell products. Their knowledgeable staff and reliable items will give you confidence when upgrading systems like these.
Do you want better performance out of your Dell laptop? Then check out some replacement HDDs made specifically by DiscTech today so that everything runs as smoothly as possible.


